Elden Ring Boss Battle Guide: How To Beat Rykard, Lord Of Blasphemy
Elden Ring features plenty of over-the-top boss encounters, and a few of them involve gimmicks. Such is the case with Rykard, Lord of Blasphemy. While taking down Rykard isn't as difficult as defeating some of the other bosses Elden Ring pits you against, like Starscourge Radahn, he can still quickly take you out if you aren't paying attention or fail to properly use the item the game heavily implies you should exploit. Luckily, a bit of preparation will help you fell this giant serpent.
Table of contents
Elden Ring features plenty of over-the-top boss encounters, and a few of them involve gimmicks. Such is the case with Rykard, Lord of Blasphemy. While taking down Rykard isn't as difficult as defeating some of the other bosses Elden Ring pits you against, like Starscourge Radahn, he can still quickly take you out if you aren't paying attention or fail to properly use the item the game heavily implies you should exploit. Luckily, a bit of preparation will help you fell this giant serpent.
To confront Rykard and claim his Great Rune for yourself, you'll be required to fight your way through Volcano Manor. Here's how to make it to the boss room, as well as a handful of tips and tricks for bringing down this Shardbearer.
Getting To Rykard
There are two primary ways to do this. The first is to make your way to Volcano Manor from Mt. Gelmir and then proceed to accept and complete a series of assassination missions given to you by Tanith. After those missions are complete, Tanith will ask if you would like to see the Lord of Blasphemy himself. Accepting her offer will teleport you directly outside Rykard's boss room.
The second method is to fight your way through Volcano Manor proper. To do this, you'll first need to talk to Tanith inside Volcano Manor, accept her offer, and receive the Drawing-Room key. Inside one of the doors unlocked by the key is an illusory wall in the back right corner. From there, keep fighting your way forward. You'll eventually have to engage in a boss battle against a Godskin Noble. After that, continue making your way through the manor until you reach the mist gate leading to Rykard's boss room.
Right inside the boss room door will be a corpse with an item. This item is actually a weapon--the Serpent Hunter great spear. This weapon is essential to defeating Rykard, so go ahead and equip it.
Phase 1 - The God Devouring Serpent

The fight against Rykard is what is often referred to as a "gimmick" boss fight, or rather a fight where what kind of character you've built ultimately doesn't matter. Instead, gimmick fights revolve around using a special item or mechanic to emerge victorious. In this case, that gimmick is the Serpent Hunter spear.
While at first glance it might look to be a normal spear, the weapon boasts a powerful ability that only functions for this boss fight. All of its attacks are greatly enhanced against Rykard, with the spear emitting a long-ranged white beam with every attack. This allows you to attack the massive Rykard from a much greater distance than normal. You can technically use your normal weapons or sorceries against Rykard, but if you do, you are going to have a much, much harder time. This fight is designed to be done with the Serpent Hunter.
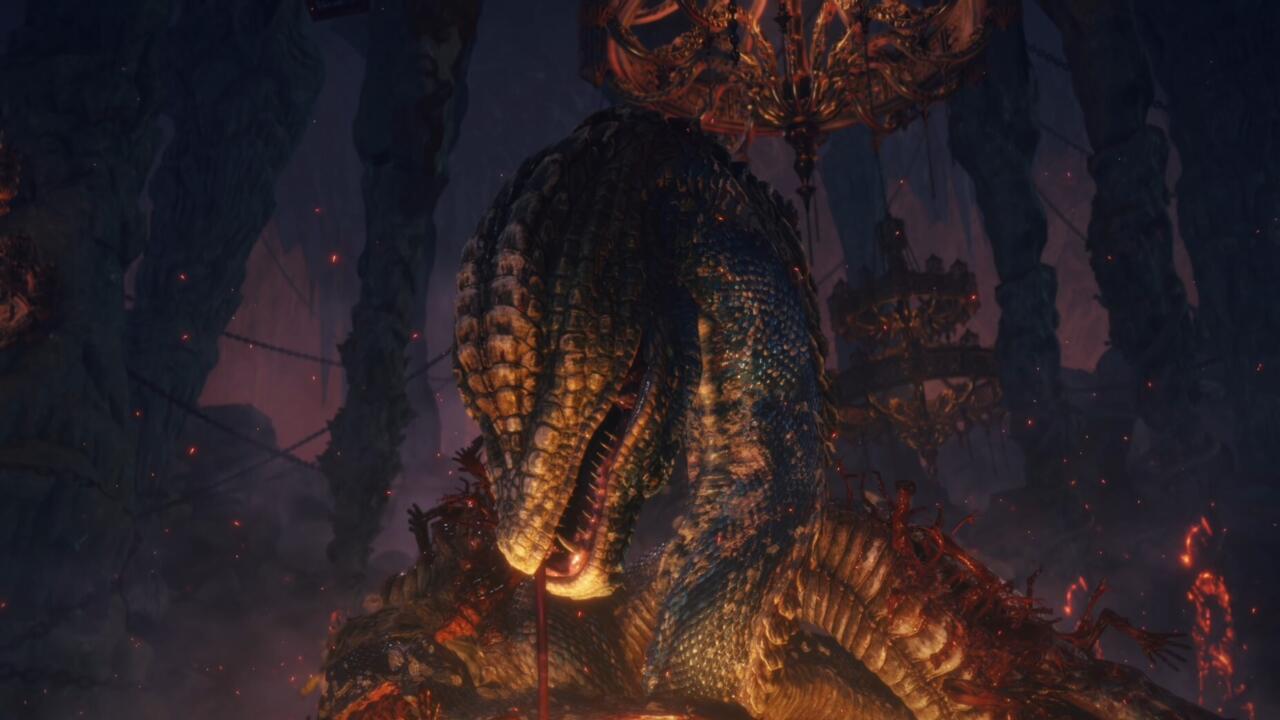
Like many of Elden Ring's iconic boss fights, the Rykard boss battle happens in two phases. The first is the God-Devouring Serpent, a massive coiled-snake that you'll have to contend with in order to reveal Rykard's true form. This serpent has a couple of key attacks to watch out for. The God-Devouring Serpent will occasionally lunge at you with its head from the side, occasionally following up one attack immediately with another. This attack can be safely blocked, or simply time your rolls to emerge unscathed.
Another, more dangerous attack the serpent will use is an unblockable grab signaled by the serpent raising its head up high before lunging towards you. You'll need to either get out of the attack's rather long range or dodge at the right time to avoid being grabbed and slammed into the ground. Other attacks the serpent will employ include lobbing poisonous venom at you as well as spinning in place to spew balls of lava around its body or in front of its mouth.
These attacks are easy enough to dodge, so just be sure to keep a safe distance not to stand in the pools of fire/poison. There is one final, fairly damaging attack the serpent will use. After rearing up, the serpent will slam its head into the ground and then flick its head up. This will cause a lava earthquake to erupt in an incredibly large arc in front of its head. From our experience, this can't be dodge or jumped over. The easiest solution seems to be blocking the attack, preferably with a high fire resistance shield. You'll still take minor damage, but it's much better than the massive chunk of health the attack would otherwise inflict.
Once you've learned the God-Devouring Serpent's attacks, all that is left is to take advantage of the Serpent Hunter's unique attacks to deal damage whenever you get an opening. The spear deals good damage even without any upgrades, and thanks to its long range, can be used from a fairly safe distance. Take your time and poke away at the beast until it's "dead." You can summon a Spirit to help distract the boss as well, and if you happen to have the Mimic Tear, you'll get the benefit of essentially having two characters wielding the Serpent Hunter weapon.
Alternatively, if you have a decent health pool and high fire resistance gear and talismans, you can also opt to run straight up to the God-Devouring Serpent, stand in the fire around its body, and hack away with the Serpent Hunter. You will take minor fire damage periodically that you'll need to heal through, but the upside is that being so close to the monster's body makes it unable to use most of its attacks. You'll still have to watch out for when it spins in place and throws fireballs, however.
Phase 2 - Rykard, Lord of Blasphemy

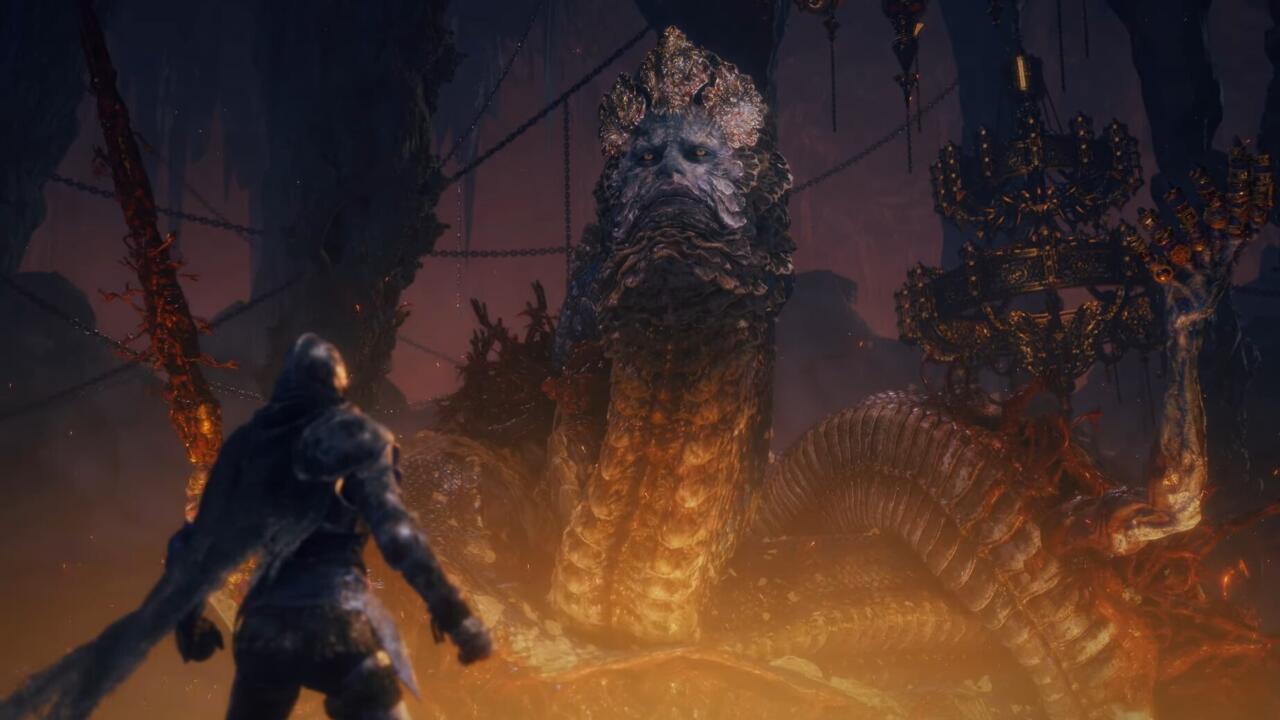
After defeating the serpent, Rykard will reveal his true face…quite literally. He'll also pull a big ol' sword covered in guts out of the serpent's mouth. Fortunately, Rykard isn't that much more difficult than his previous form. The big new addition is his sword, which he will use for a couple different attacks. He will occasionally do long, slow sweeps with the weapon, which are easy enough to dodge (dodge towards the sword, not away, as it's so slow you might still get caught up in the attack if you dodge the wrong way). Slightly more problematic will be his thrust attacks with the sword. These have a long range, so just keep an eye out for when he rears back and prepares to stab.
He will stab multiple times in rapid succession so keep back and dodge accordingly. Rykard will occasionally spew balls of lava around him and emit flaming skulls that zip around and leave trails of light behind them. These trails will then ignite, sending explosions all along the trail. Make sure to stay clear of any of these trails over the course of the battle.
At around 50% HP, Rykard will bust out some new moves. For starters, the serpent that you've already slain will come back to life, using many of the same bite attacks from the first phase of the fight. Additionally, Rykard will have two new, incredibly powerful moves you'll have to be wary of. One will see Rykard raise his sword high above his head and emit an army of flaming skulls. These skulls will follow you and explode after a short delay. The important thing to remember when avoiding these skulls is to keep moving. Do not stand still, lest you get hit by multiple skulls. It's best to avoid trying to get in any hits with the Serpent Hunter spear during this phase, as it leaves you wide-open to the exploding skulls. After Rykard is done throwing flaming skulls at you, he'll charge up for a powerful sword slam attack. Get as far away from this as possible, as if you are hit by it you will very likely die in a single blow.
It's easy to get backed into a wall in this fight, so be sure to sprint away and reposition. Otherwise, phase 2 functions much the same as phase 1 did. Take jabs at him with the Serpent Hunter when possible, don't get to close, and be patient. Just like in phase 1, you can also take the up-close-and-personal approach and run straight up to Rykard, hug his body, and attack with the Serpent Hunter (if you have the fire resistance and HP for it). Like in phase 1, you'll still take periodic fire damage and will also have a few attacks you'll have to watch out for, but will be able to largely avoid his sword attacks as a result.
As in phase 1, you can summon a tanky Spirit to get Rykard's attention and take some heat off you. Additionally, if you are having a hard time, feel free to spend a few Somber Smithing Stones (if you have any to spare) to upgrade the Serpent Hunter's damage. You should be able to do this fight without upgrades, but having more damage always makes things a little easier. Keep poking away at Rykard with the Serpent Hunter and before long you'll be victorious.